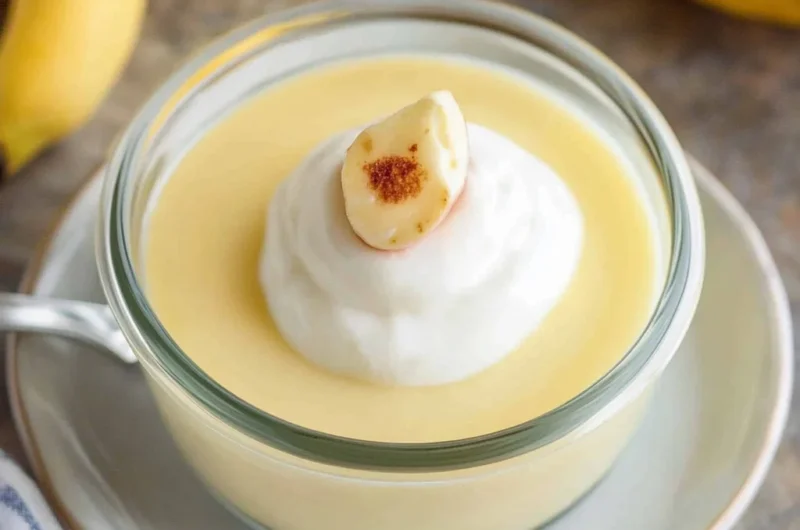
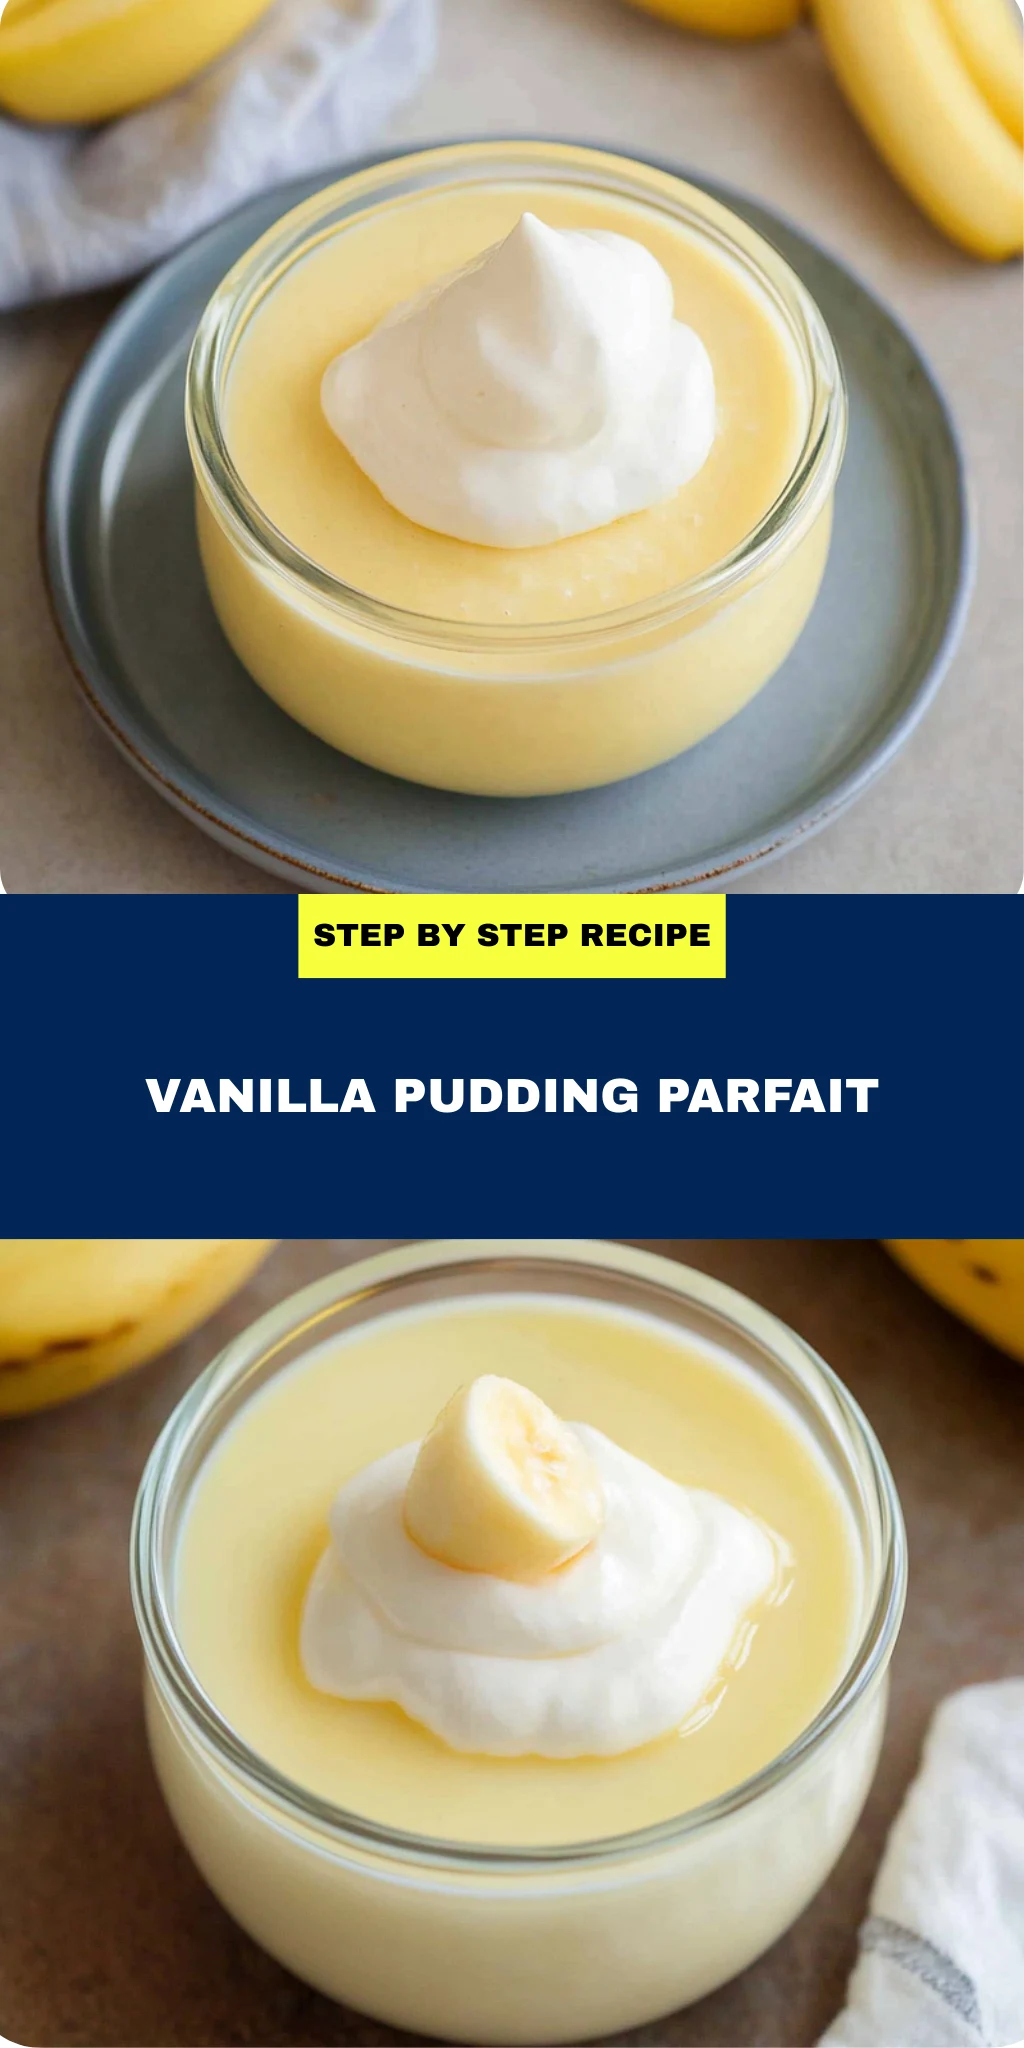
Imagine diving into a bowl of velvety vanilla pudding, its silky texture dancing on your tongue while the sweet, comforting aroma envelops your senses. Each spoonful is like a warm hug, bringing back memories of childhood kitchen escapades where laughter and the delightful scent of baking mingled in the air, promising pure joy with every bite.
This creamy delight is perfect for any occasion, whether it’s a cozy family dinner or a vibrant celebration with friends. Picture it nestled between layers of flaky pastry or simply enjoyed on its own, evoking nostalgia and happiness. Get ready to embark on a flavor adventure that will leave you craving more with every delicious scoop!
Why Will You Keep Making vanilla pudding?
Creamy texture: The combination of whole milk and butter creates a rich, velvety pudding that’s irresistible.
Simple ingredients: With just a few pantry staples like granulated sugar, cornstarch, and salt, you can whip up a delightful dessert in no time!
Versatile use: Enjoy it on its own, or use it as a luscious filling for pastries and cakes.
Quick preparation: In just 25 minutes—10 minutes of prep and 15 minutes of cooking—you’ll have a delicious treat ready to impress family and friends.
Crowd-pleaser: Everyone loves the classic flavor of pure vanilla extract, making this pudding a sure hit at any gathering!
vanilla pudding Ingredients
- 2 cups whole milk – This provides the creamy base for your vanilla pudding, making it rich and smooth.
- 1/2 cup granulated sugar – Sweetens the pudding perfectly; feel free to adjust based on your taste preference.
- 1/4 cup cornstarch – Acts as a thickening agent, ensuring your pudding reaches that delightful creamy consistency.
- 1/4 teaspoon salt – Enhances the flavors and balances the sweetness of the dessert.
- 2 large egg yolks (lightly beaten) – Adds richness and helps to create a velvety texture in your vanilla pudding.
- 2 teaspoons vanilla extract (pure) – Infuses the pudding with a warm, aromatic flavor that’s essential for a classic dessert.
- 2 tablespoons unsalted butter – Contributes a luxurious mouthfeel and enhances the overall richness of the pudding.
Step-by-Step vanilla pudding
1. Whisk Together: In a saucepan, whisk together 2 cups of whole milk, 1/2 cup of granulated sugar, 1/4 cup of cornstarch, and 1/4 teaspoon of salt until the mixture is smooth and free of lumps.
2. Cook Mixture: Place the saucepan over medium heat and cook while stirring constantly. You’ll know it’s ready when the mixture thickens and begins to boil—this should take about 10 minutes.
3. Simmer: Once boiling, continue to cook for an additional 2 minutes while stirring. This helps develop that creamy texture we all love in a delicious vanilla pudding.
4. Combine Ingredients: Remove the saucepan from heat and immediately whisk in 2 large egg yolks (lightly beaten), 2 teaspoons of pure vanilla extract, and 2 tablespoons of unsalted butter until everything is well combined and glossy.
5. Transfer Pudding: Pour the creamy pudding into serving bowls. To prevent a skin from forming, cover each bowl with plastic wrap gently pressed against the surface.
6. Chill Out: Place the bowls in the refrigerator and let them chill for at least 2 hours before serving. This cooling time allows the flavors to meld beautifully!
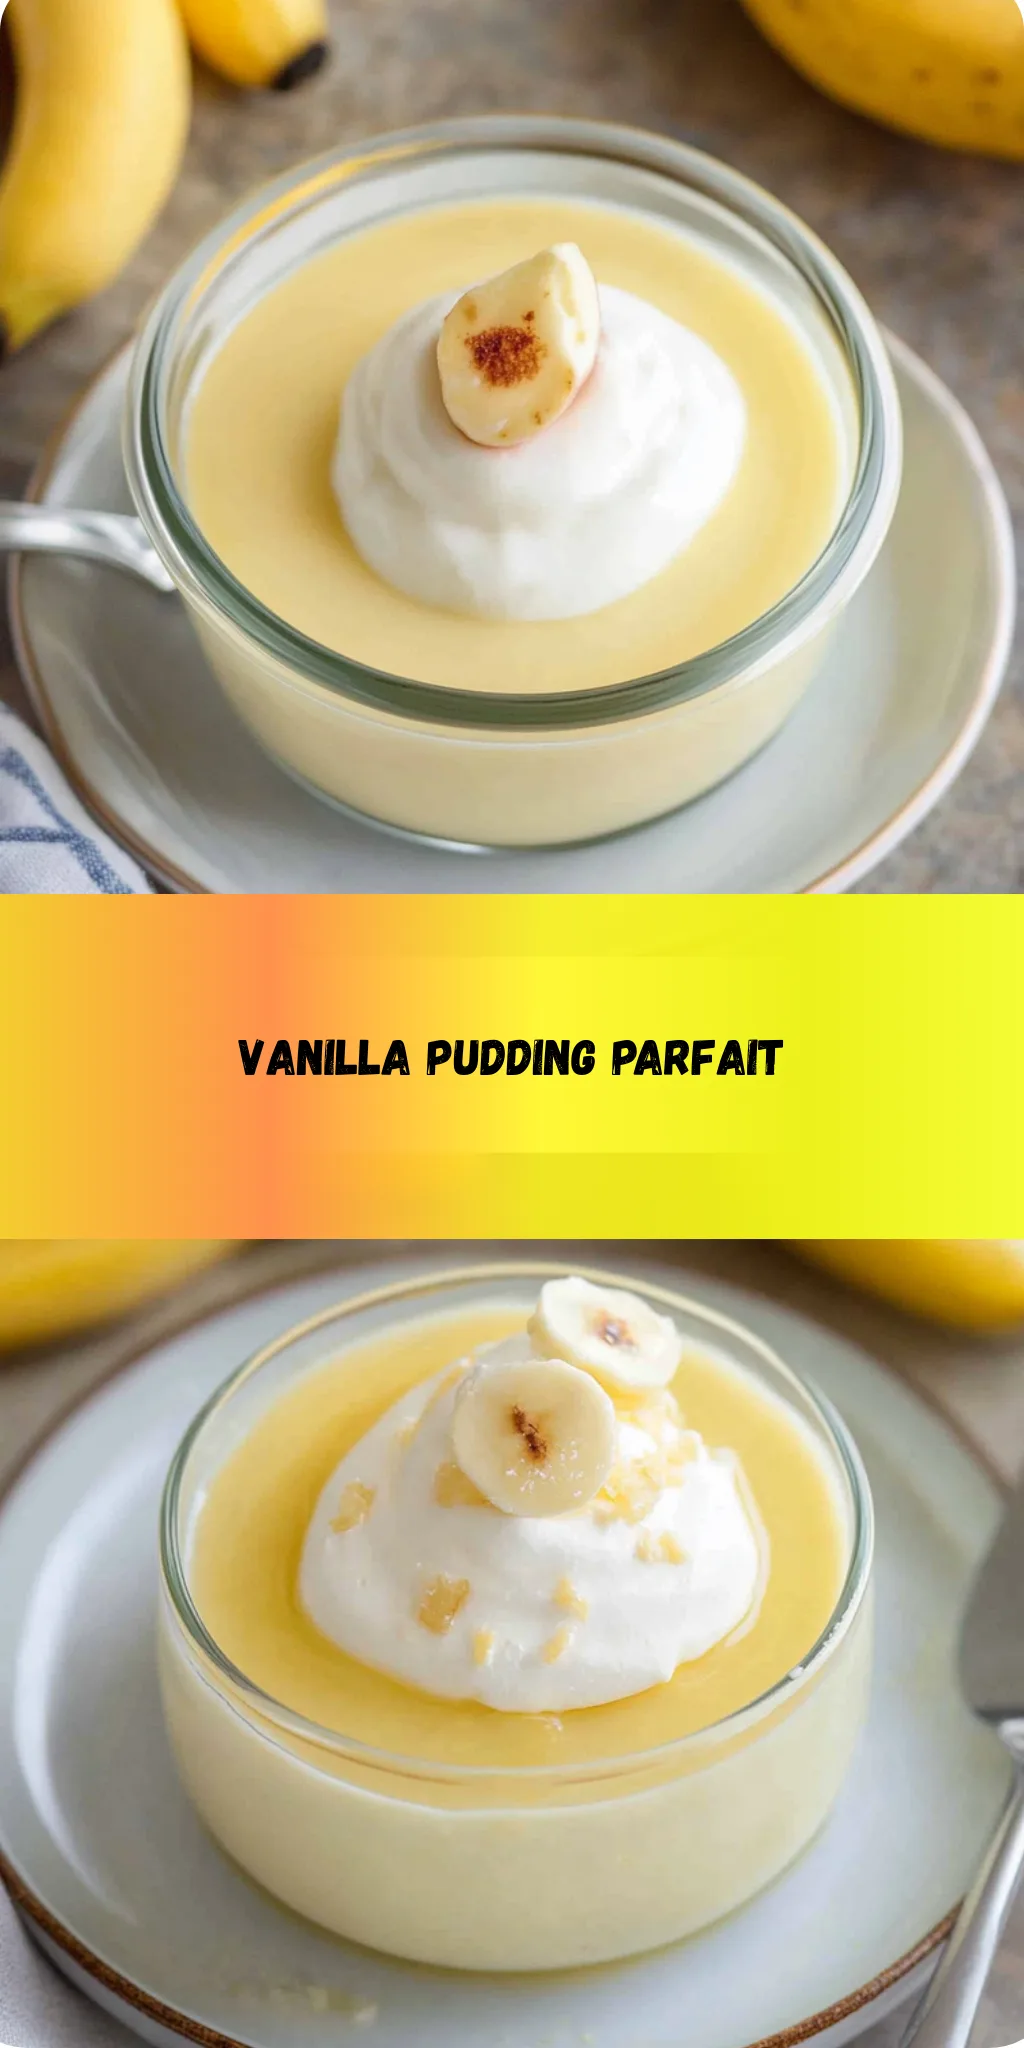
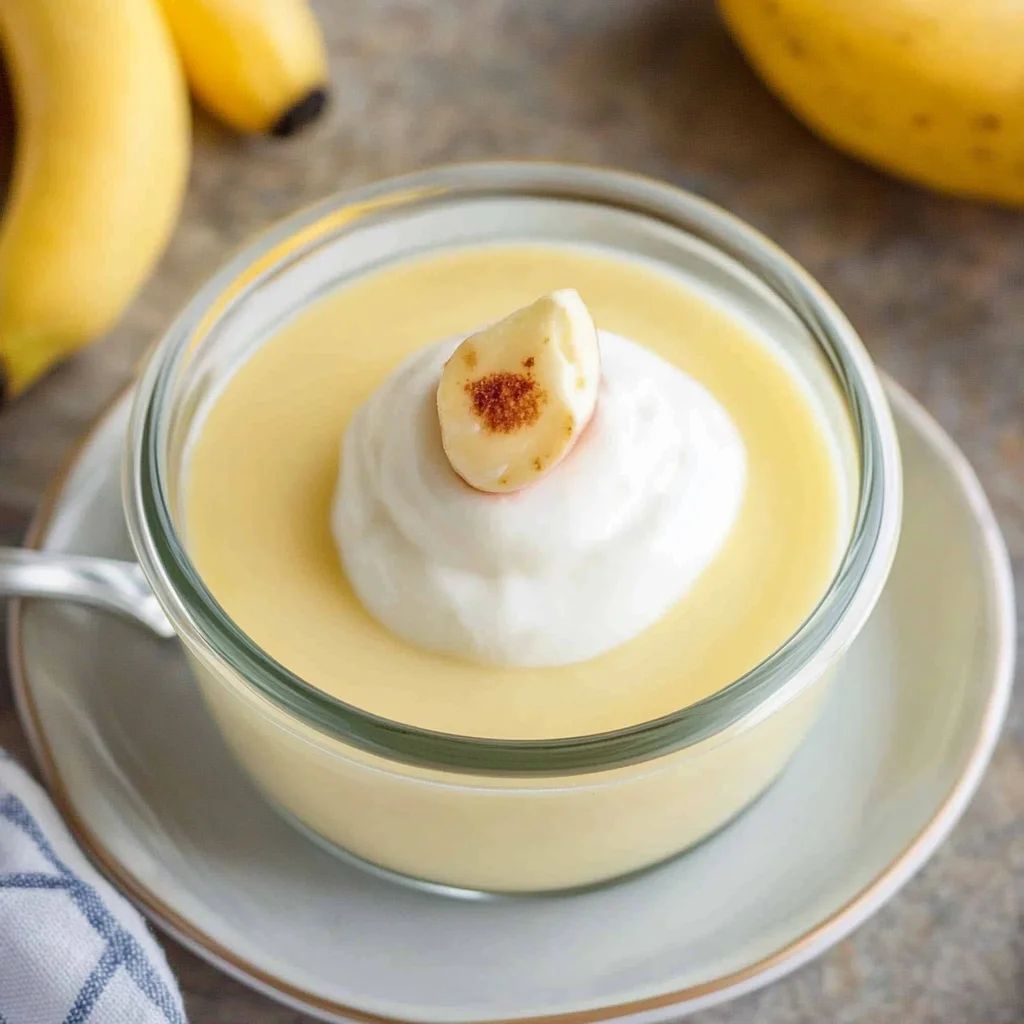
Optional: Top with whipped cream or fresh berries for an extra touch!
Exact quantities are listed in the recipe card below.
Tips for the Best vanilla pudding
- Whisk Thoroughly: Ensure you whisk the milk, sugar, cornstarch, and salt until completely smooth to avoid lumps in your vanilla pudding.
- Watch the Heat: Cook over medium heat and stir constantly. Cooking too fast can cause the mixture to scorch or clump.
- Timing Matters: Once it starts to boil, keep stirring for an additional 2 minutes. This step helps achieve that perfect creamy texture.
- Egg Yolks Integration: Remove from heat before adding egg yolks to prevent them from scrambling. Whisk quickly for a smooth blend.
- Prevent Skin Formation: Cover the pudding with plastic wrap directly on its surface while chilling to avoid an unsightly skin from forming on top.
- Chill Properly: Allow the vanilla pudding to chill for at least 2 hours. Skipping this step can lead to a runnier texture.
How to Store and Freeze vanilla pudding
- Fridge: Store your vanilla pudding in an airtight container for up to 3 days. This keeps it fresh and prevents it from absorbing other odors.
- Freezer: If you want to keep it longer, freeze the pudding in an airtight container for up to 2 months. Just remember that texture may change slightly upon thawing.
- Thawing: To thaw frozen vanilla pudding, transfer it to the fridge overnight. Stir gently before serving to restore creaminess.
- Reheating: If you prefer warm pudding, heat it on the stove over low heat, stirring continuously until smooth and heated through. Enjoy!
vanilla pudding Your Way
Feel free to unleash your creativity and transform this classic treat into something uniquely yours!
- Dairy-Free: Substitute almond or coconut milk for the whole milk to create a creamy, plant-based version. This swap adds a subtle nutty flavor that complements the sweetness beautifully.
- Chocolate Delight: Replace 2 tablespoons of cornstarch with cocoa powder for a rich chocolate pudding twist. The chocolate melds seamlessly with the vanilla, creating a decadent dessert that chocolate lovers will adore.
- Citrus Zing: Add 1 tablespoon of freshly grated lemon or orange zest before cooking for a refreshing citrus note. This brightens the flavor, balancing the creaminess with a delightful zing that awakens the senses.
- Nutty Infusion: Stir in 1/4 cup of finely ground nuts like hazelnuts or almonds for added texture and flavor. The nuts provide a wonderful crunch that contrasts nicely with the smooth pudding.
- Spiced Sensation: Incorporate a pinch of cinnamon or nutmeg into the base for a warm, spiced twist. These spices add depth and warmth, elevating your pudding into comfort food territory.
- Caramel Swirl: Drizzle in some caramel sauce just before serving for an indulgent treat. The sweet, gooey caramel adds richness and an irresistible layer of flavor to each spoonful.
- Berry Bliss: Fold in fresh berries like strawberries or blueberries after cooking for a fruity finish. Their natural sweetness and slight tartness elevate the pudding to a whole new level of deliciousness.
Make Ahead Options
Preparing this creamy vanilla pudding in advance is a fantastic way to streamline your dessert plans. You can easily whisk together the pudding base using 2 cups of whole milk, 1/2 cup granulated sugar, 1/4 cup cornstarch, and 1/4 teaspoon salt, then follow through with the steps to boil and thicken the mixture. Once you add in the lightly beaten egg yolks, 2 teaspoons of pure vanilla extract, and 2 tablespoons of unsalted butter, you can pour the pudding into serving bowls and cover them with plastic wrap to prevent a skin from forming. This delicious vanilla pudding can be made up to 3 days ahead of time. Just make sure to chill it in the refrigerator for at least 2 hours before serving. When you’re ready to enjoy it, simply give it a gentle stir for that silky-smooth texture and serve it chilled. Meal prep has never tasted so good!
vanilla pudding Questions Answered
What kind of milk is best for making vanilla pudding?
For the creamiest and most flavorful vanilla pudding, I recommend using whole milk. It provides a rich texture that enhances the overall taste. If you want a lighter version, you can substitute with 2% milk, but be aware that the pudding may be slightly less creamy.
Can I use low-fat or non-dairy milk in this recipe?
Absolutely! You can use low-fat milk, almond milk, or coconut milk as alternatives. Just keep in mind that using non-dairy options might alter the flavor and texture slightly. For instance, almond milk will give a nuttier taste, while coconut milk will introduce a hint of tropical richness!
How should I store leftover vanilla pudding?
If you have any leftover pudding (which is rare because it’s so delicious!), store it in an airtight container in the refrigerator. It should stay fresh for about 3 to 4 days. Just remember to cover the surface with plastic wrap or parchment paper to prevent any skin from forming on top.
Can I freeze vanilla pudding?
While it’s possible to freeze vanilla pudding, the texture may change once thawed. The creaminess can become grainy due to the separation of ingredients. If you plan to freeze it, make sure to do so in a tightly sealed container and consume it within a month for best results.
Why did my vanilla pudding not thicken properly?
If your pudding didn’t thicken as expected, it might be due to cooking at too low a temperature or not stirring enough while heating. Make sure to cook over medium heat and keep stirring until it starts to boil. After boiling, let it cook for an additional 2 minutes while continuously stirring for optimal thickening.
What is the serving size for this vanilla pudding recipe?
This recipe yields about 4 servings, perfect for sharing with family or enjoying all by yourself! Each serving contains approximately 180 calories, making it a delightful yet indulgent treat after dinner or as a sweet snack during the day.
Vanilla Pudding
Ingredients
Method
- In a saucepan, whisk together the milk, sugar, cornstarch, and salt until smooth.
- Cook over medium heat, stirring constantly until the mixture thickens and starts to boil.
- Once boiling, cook for an additional 2 minutes while stirring.
- Remove from heat and whisk in the egg yolks, vanilla extract, and butter until well combined.
- Pour the pudding into serving bowls and cover with plastic wrap to prevent a skin from forming.
- Chill in the refrigerator for at least 2 hours before serving.